
Installing Luxury Vinyl Tile (LVT) flooring yourself? Good call — it’s one of the most DIY-friendly flooring types out there. But don’t be fooled: a smooth, professional-looking result depends on having the right tools at your side from the start.
Whether you’re going with click-lock LVT or glue-down vinyl tiles, here’s a breakdown of essential tools you’ll need for a successful DIY project.
Must-Have Tools for Click LVT Installation
| Tool | What It’s For |
|---|---|
| Tape Measure | Accurate room dimensions and tile spacing |
| Utility Knife | Cutting tiles to fit edges and obstacles |
| Spacers | Maintaining expansion gaps around the perimeter |
| Rubber Mallet | Tapping tiles together without damaging edges |
| Tapping Block | Ensures tight joints when locking tiles together |
| Pull Bar | Helps close gaps near walls or tight spaces |
| Straight Edge/Ruler | Guides precise cutting and layout alignment |
| Pencil/Chalk Line | Marking layout lines or cut marks |
| Knee Pads | Save your knees – this job requires plenty of kneeling |
| Vacuum/Broom | Keeping subfloor clean during install |
Additional Tools for Glue Down LVT
| Tool | Purpose |
|---|---|
| Notched Trowel | Spreads adhesive evenly on subfloor |
| Flooring Roller | Ensures strong adhesive bond and eliminates bubbles |
| Adhesive Remover | Cleans up spills before they cure |
| Gloves | Keeps hands clean while handling glue |
Optional (But Helpful) Extras
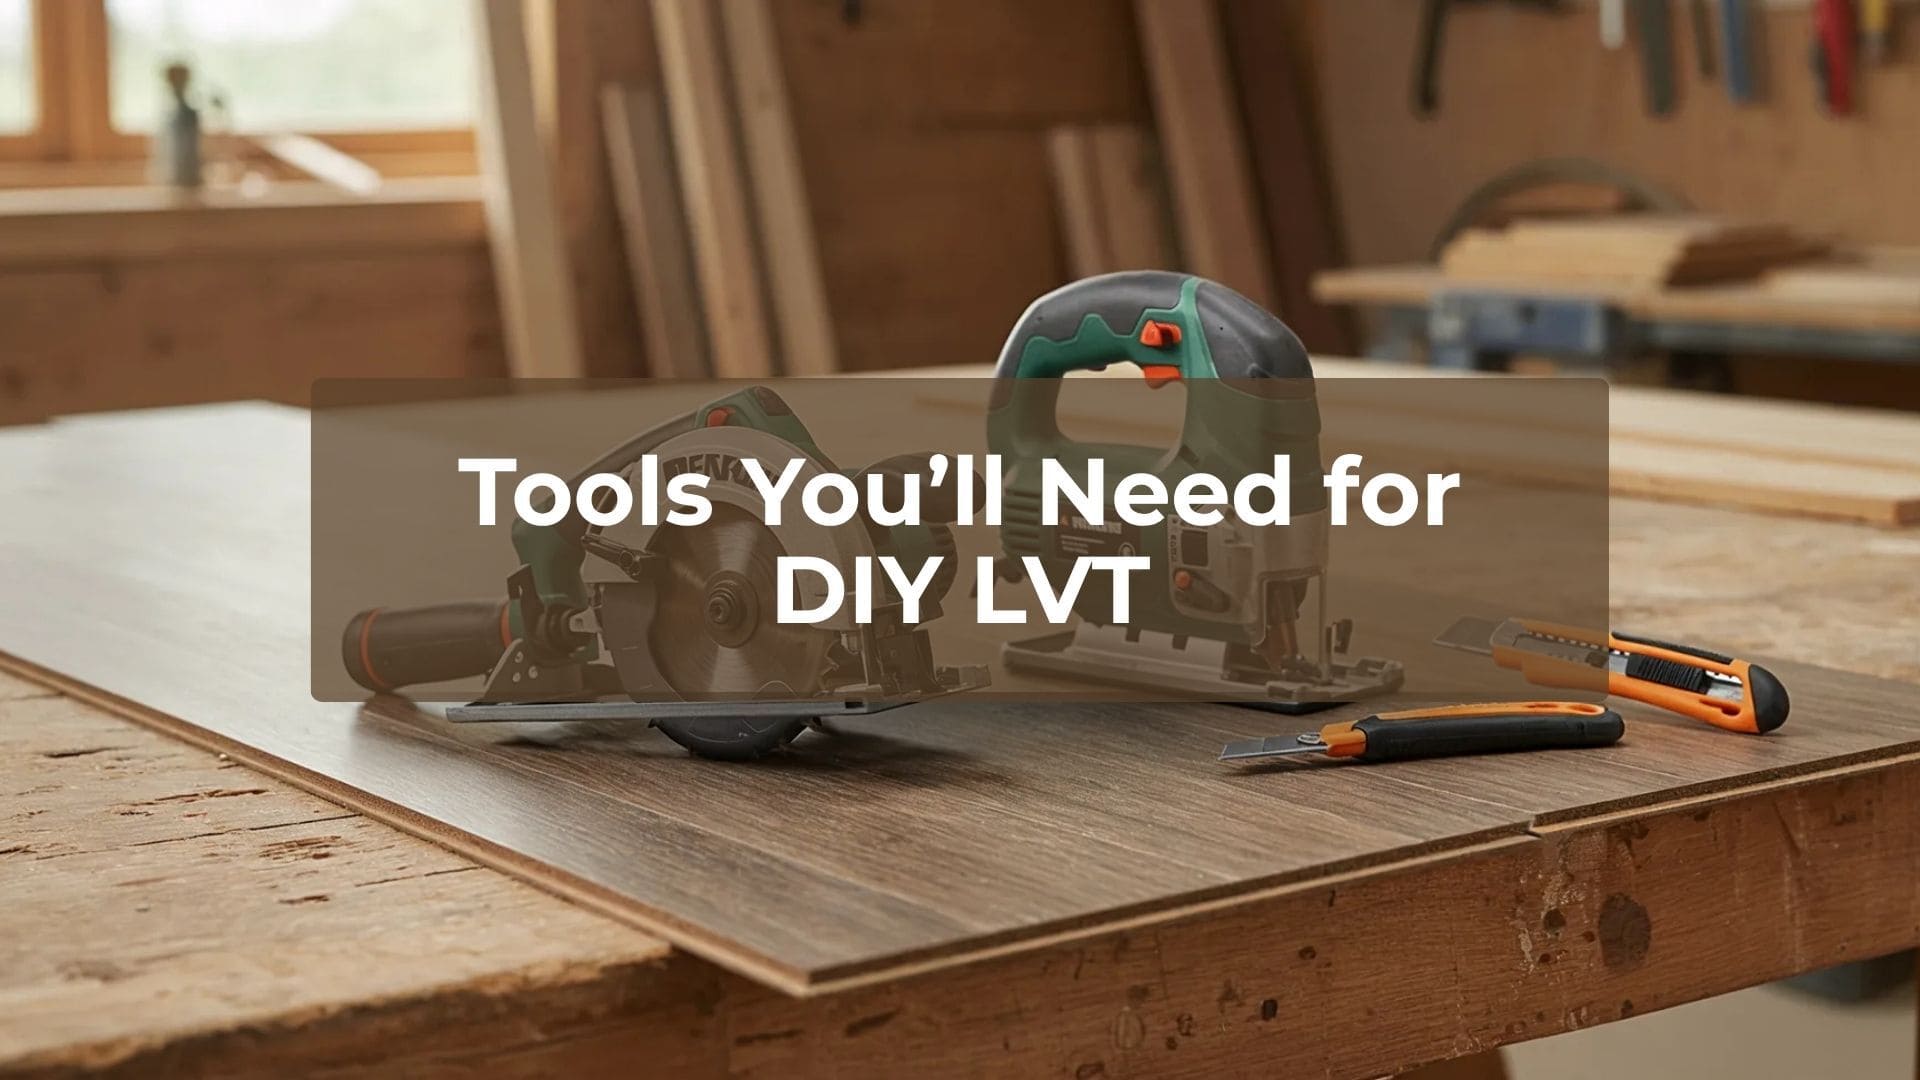
- Jigsaw or Multi-Tool: For awkward cuts around pipes or door frames
- Moisture Metre: To ensure your subfloor is dry enough (especially on concrete)
- Self-levelling Compound: For smoothing out imperfections before installation
- Damp-Proof Membrane (DPM): For added protection on concrete subfloors
Pro Tips for DIY Installers:
- Always buy 10% extra LVT to allow for offcuts and mistakes
- Do a dry layout test before committing to adhesive or locking tiles
- Clean as you go — debris under tiles causes imperfections
- Let LVT acclimate for 24–48 hours in the room before installing